
Earth Quake Monitoring and Email Notification using Vibration Sensor
- Ramesh G

- May 21, 2021
- 4 min read
Updated: Oct 11, 2021
To make a simple Earth Quake monitoring device and learn how to connect and control the digital vibration sensor module to IOT Cloud (myDevices Cayenne).
Earthquake “is also known as tremor, temblor or quake“ is actually the shaking of the earth’s surface, which results due to the sudden release of the energy in the Earth’ lithosphere which creates seismic waves. In very simple words, the word earthquake can be described as the seismic event – whether natural or caused by the humans that generate seismic waves. As the seismic waves or the vibration waves can also be generated by the humans, so the false readings can be generated by the monitoring sensors. To overcome this problem every city can have 2 or 3 more sensors to further ensure the earthquake.

The main objective of project is to work on the real-time earthquake detector sensor network, and design such a low-cost real-time earthquake detector monitoring system that can be easily used throughout the country or world. So that’s why I decided to work on this project and make our own monitoring system for the earthquake based on the wifi module, vibration sensor, and IoT platform.
On the other hand, Cayenne is an IoT cloud platform that provides several cloud services, such as:
Data visualization
IoT cloud
Alerts
Scheduling Events
We will focus our attention on data visualization and on the IoT cloud services.
Circuit diagram

Components Required
Vibration sensor SW-420 - 1 no
Node MCU ESP8266 12E - 1 no
NodeMCU
NodeMCU ESP8266-12E MCU is a development board with one analogue and many general-purpose input output (GPIO) pins. It has 4MB flash memory, and can operate at a default clock frequency of 80MHz. In this project, digital pin D0 of NodeMCU is used to read Data of Vibration Sensor.
Cayenne
Cayenne IoT Platform accelerates the development of IoT-based solutions, including quick design, prototyping and other commercialized projects. It is a drag-and-drop IoT project builder that can help developers build complete, ready-to-use IoT solutions with little to no coding.
Cayenne IoT Platform contains a vast catalogue of certified IoT-ready devices and connectivity options. This allows users to easily add any device to the library utilizing MQTT API. All devices in Cayenne are interoperable and benefit from features such as rules engine, asset tracking, remote monitoring and control, and tools to visualize real-time and historical data.
MQTT is a lightweight messaging protocol for sensors and mobile devices.
Vibration Sensor SW420

Vibration Sensor Module comes with SW-420 vibration sensor, integrated with adjustable sensitivity via on board potentiometer. There are also LED indicators for power and the digital output status on board. It has a simple and straight forward 3-pin interface, VCC, GND and the DO (digital output). It supports 3.3V or 5V power.
This vibration sensor module is compatible with any microcontroller that has a digital input, so of course any popular microcontroller such and PIC, Arduino and Raspberry Pi are compatible. A direct interface is essential to using this sensor.
The DO pin will be LOW when there is no vibration, and indicator LED will lit up.
Module Features:
SW-420 using the company’s production of normally closed type vibration sensor.
The comparator output, the signal is clean, the waveform, the driving ability to exceed 15mA
Operating voltage 3.3V-5V
The output in the form: Digital switching outputs (0 and 1)
A fixed bolt hole for easy installation
Small board PCB size: 3.2cm x 1.4cm
Wide voltage LM393 comparator
Uses:
This Vibration Sensor can be used to detect vibration from any angle. There is an on-board potentiometer to adjust the threshold of vibration. It outputs logic HIGH when this module not triggered while logic Low when triggered.
Application
•Automobie alarm.
•Movement detection.
•Vibration detecting Applications Features
NodeMCU programming with Arduino IDE
You need Arduino IDE software to program NodeMCU.
Steps for adding NodeMCU ESP8266 board and library to Arduino IDE are given below.
Open Arduino IDE. Go to File menu and select Preferences.
Copy this package and paste in Additional Boards Manager URL.
Go to Tools and select Boards Manager.
Type esp8266 in search box and press Enter.
Install the latest version.
From Tools menu, select NodeMCU 1.0 (ESP-12E module) board.
Select Include Library from Sketch menu.
Download the library from this link.
Click on Add ZIP Library and add Cayenne-MQTT-ESP-master zip file, or directly copy the folder (Cayenne-MQTT-ESP-master) and paste it in Libraries folder of Arduino IDE.

Subscribe and Download code.
Arduino Code
#define CAYENNE_PRINT Serial // Comment this out to disable prints and save space
#include <CayenneMQTTESP8266.h>
// sensors
int vs = D0; // vibration sensor
//Make a wifi name and password as access point
char ssid[] = "TP-Link_3200"; // your SSID
char wifiPassword[] = "95001121379884265554"; // YOUR WIFI PASSWORD
// Cayenne authentication info. This should be obtained from the Cayenne Dashboard.
char username[] = "2031dd30-5414-11eb-b767-3f1a8f1211ba";
char password[] = "f2ce829d98df3a768328ac6936eae9fd47d28289";
char clientID[] = "9ab212f0-b9db-11eb-8779-7d56e82df461";
void setup(){
Serial.begin(115200);
Serial.print("Setup");
Cayenne.begin(username, password, clientID, ssid, wifiPassword);
pinMode(vs ,INPUT);
delay(10);
}
void loop(){
Cayenne.loop();
long measurement =vibration();
delay(50);
Serial.println(measurement);
//Write to Cayenne Dashboard`
Cayenne.virtualWrite(V0,measurement);
}
long vibration(){
long measurement=pulseIn (vs, HIGH);
return measurement;
}
Hardware interfacing with Cayenne IoT platform
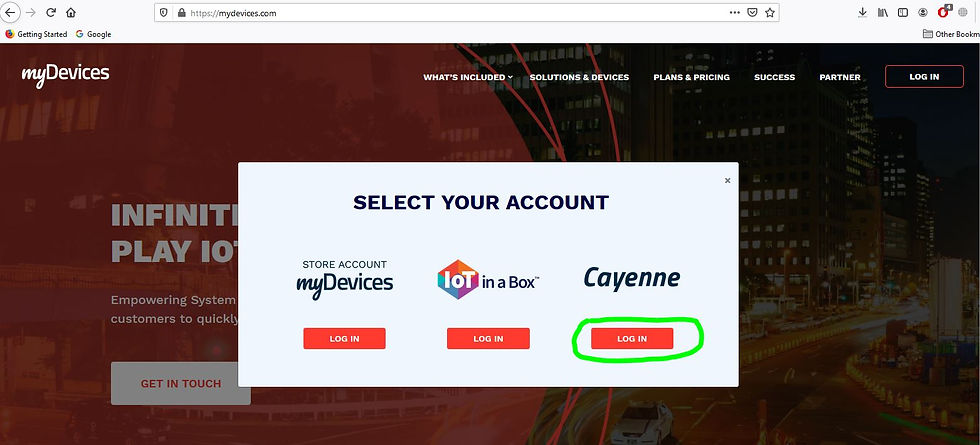
To interface the circuit with the IoT platform, open this link on any browser.
Click on Add new and then Device/Widget in Settings, Add New Device here and select Generic ESP8266 for in this project.
Configure device Generic ESP8266, MQTT username, password and client ID from Create App
Paste these respective details under username, password and client ID in Arduino source code , along with your Wi-Fi name and password.
After successfully compiling and uploading the code to NodeMCU, You will see ESP8266 connected to Wi-Fi. After the connection is established, the previous page is automatically updated on Cayenne. A new dashboard opens in the browser. Cayenne generates an ID and a device icon for your device.


Comments