
ESP8266 Web Server Based LM35 Temperature Data Logger
- Ramesh G

- Oct 25, 2022
- 4 min read

In this tutorial we will show how to build ESP8266 and interface LM35 Precision Centigrade Temperature sensor with html gauge, data plotter with logger. This project uses ESP8266 NodeMCU device that easily connects to existing WiFi network & creates a Web Server. When any connected device accesses this web server, ESP8266 reads in temperature from LM35 Temperature sensors & sends it to the web browser. In this project temperature range reads trimmed from 0°C to 100°C (Actual -55°C to 150°C).
Here High chart is used to create reliable and secure data visualizations and data logger.
You can export the data to CSV, EXCEL format and graph convert to PNG,JPEG,PDF format.
Circuit Diagram

Components Required
NodeMCU ESP8266 12E Dev Board
LM35 sensor Module

LM35 Precision Centigrade Temperature Sensor

The LM35 series are precision integrated-circuit temperature devices with an output voltage linearly proportional to the Centigrade temperature. The LM35 device has an advantage over linear temperature sensors calibrated in Kelvin, as the user is not required to subtract a large constant voltage from the output to obtain convenient Centigrade scaling. The LM35 device does not require any external calibration or trimming to provide typical accuracies of ±¼°C at room temperature and ±¾°C over a full −55°C to 150°C temperature range. Lower cost is assured by trimming and calibration at the wafer level. The low-output impedance, linear output,

and precise inherent calibration of the LM35 device makes interfacing to readout or control circuitry especially easy. The device is used with single power supplies, or with plus and minus supplies. As the LM35 device draws only 60 μA from the supply, it has very low self-heating of less than 0.1°C in still air. The LM35 device is rated to operate over a −55°C to 150°C temperature range, while the LM35C device is rated for a −40°C to 110°C range (−10° with improved accuracy). The LM35-series devices are available packaged in hermetic TO transistor packages, while the LM35C, LM35CA, and LM35D devices are available in the plastic TO-92 transistor package. The LM35D device is available in an 8-lead surface-mount small-outline package and a plastic TO-220 package.
Temperature Sensor Output Voltage Linearity
LM35 (LM35DZ) proportional to temperature in Celsius (ºC)10mV/ºC
LM335 proportional to temperature in Kelvin (ºK)10mV/ºK
LM34 proportional to temperature in Fahrenheit (ºF)10mV/ºF
In this project LM35DZ is used to measure temperature range from 0ºC to 100ºC.
For example, if the LM35 outputs a voltage of 245 mV, that means we have a temperature value of 24.5ºC.
For example2, if the LM35 outputs a voltage of 1000 mV (1V), that means we have a temperature value of 100ºC.


NodeMCU
NodeMCU ESP8266-12E MCU is a development board with one analogue and many general-purpose input output (GPIO) pins. It has 4MB flash memory, and can operate at a default clock frequency of 80MHz. In this project, analog pin A0 of NodeMCU is used to read analog signal of LM35 Precision Centigrade Temperature Sensor.
Analog Reading
ESP8266 ADC pins have 10-bit resolution by default. These pins read voltage between 0 and 3.3V and then return a value between 0 and 1023.
ESP32 ADC pins have 12-bit resolution by default. These pins read voltage between 0 and 3.3V and then return a value between 0 and 4095
Arduino ADC pins have 10-bit resolution by default. These pins read voltage between 0 and 5V and then return a value between 0 and 1023.


Installing Library
To install the library navigate to the Sketch > Include Library > Manage Libraries… Wait for Library Manager to download libraries index and update list of installed libraries.
you need to Download and install the ESPAsyncWebServer library.
Download and install the ESPAsyncTCP library.
After installing the required libraries, copy the following code to your Arduino IDE.
Finally, to build the web server we need two different files. One is The Arduino sketch and the other is an HTML file. So, the HTML file should be saved inside a folder called data. It resides inside the Arduino sketch folder, as shown below:
Create an index.html file with the following content. Download
The index.html file will contain web pages that will be displayed by the server along with JavaScript that will process the formation of graphics. While all server programs and sensor readings are in the .ino file.
The code explains that a new Highcharts object was formed to be rendered to the <div> tag with the chart-distance id in the HTML code. Then, the X-axis is defined as the time of reading the data, and the Y-axis is the value of the reading which is the Temperature in degree (°C). Then, the set Interval function will send data from the server every 0.5 seconds by accessing the “/DStempCt” endpoint provided by the server and sending the data to the chart object earlier.
arduino code
#include <ESP8266WiFi.h>
#include <ESPAsyncTCP.h>
#include <ESPAsyncWebServer.h>
#include <FS.h>
#include <Wire.h>
#include <SPI.h>
const int LM35 = A0;
int input_val = 0;
float temp = 0;
// Replace with your network credentials
const char* ssid = "TP-Link_3200"; // your SSID
const char* password = "95001121379884265554"; // Your Wifi password
// Create AsyncWebServer object on port 80
AsyncWebServer server(80);
String getDStempC() {
input_val = analogRead(LM35);
temp = (3300 * input_val ) / 1024;
Serial.print("Temperature is : " );
Serial.println(temp);;
return String(temp);
}
void setup () {
// Serial port for debugging purposes
Serial.begin (115200);
if (! SPIFFS.begin ()) {
Serial.println ("An Error has occurred while mounting SPIFFS");
return;
}
// Connect to Wi-Fi
WiFi.begin(ssid, password);
while (WiFi.status() != WL_CONNECTED) {
delay(1000);
Serial.println("Connecting to WiFi..");
}
// Print connection information
Serial.print("\nConnected to: ");
Serial.println(ssid);
Serial.print("IP address: ");
Serial.println(WiFi.localIP());
Serial.println("");
// Print ESP32 Local IP Address
Serial.println(WiFi.localIP());
// Route for web page
server.on ("/", HTTP_GET, [] (AsyncWebServerRequest * request) {
request-> send (SPIFFS, "/index.html");
});
server.on ("/DStempC", HTTP_GET, [] (AsyncWebServerRequest * request) {
request-> send_P (200, "text / plain", getDStempC(). c_str ());
});
// start server
server.begin ();
}
void loop() {
}
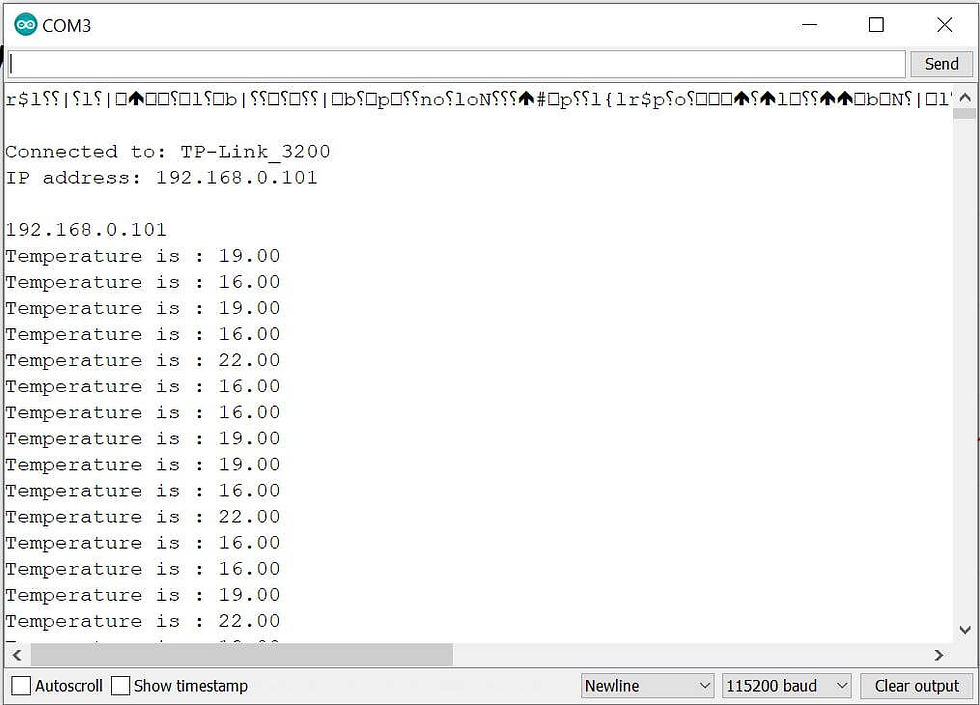
Then, upload the code to your NodeMCU board. Make sure you have selected the right board and COM port. Also, make sure you’ve inserted your WiFi Credentials in the code
After a successful upload, open the Serial Monitor at a baud rate of 115200. Press the “EN/RST” button on the ESP8266 board. Now it should print its IP address
After that Open the web browser and enter the IP address path for Temperature reading on High chart Gauge and plotter.

Demo:


Comments